1. Updates
Keep WordPress, the Bricks Builder, and all plugins up to date. Updates are not just for new features; they often include critical security patches.
Welcome to the official management guide for HSLS. This manual is designed to empower you to keep your website’s content fresh, relevant, and engaging. Here, you will find step-by-step instructions on how to manage your pages, blog posts, and media.
Our goal is to give you the independence to make updates while ensuring the site’s performance and design remain top-notch.
Your website is built using Bricks Builder, a professional-grade design tool. It offers incredible flexibility, but it also controls the core structure of your site.
Stick to Content: We recommend that your edits be limited to text and images.
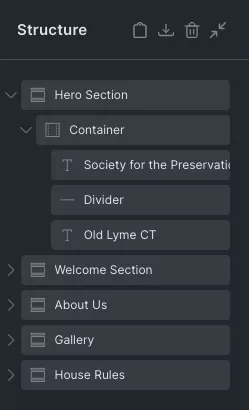
Avoid Structural Changes: Please do not delete “Containers,” move sections, or modify “Global Styles” unless you have experience with Bricks. Small changes to the layout can unintentionally affect how the site looks on mobile devices.
The Golden Rule: If you feel unsure about a specific change, please contact us before saving. We are always happy to help!
If you'd like to learn the basics yourself, we recommend watching this tutorial to get knowledge of how bricks builder work.

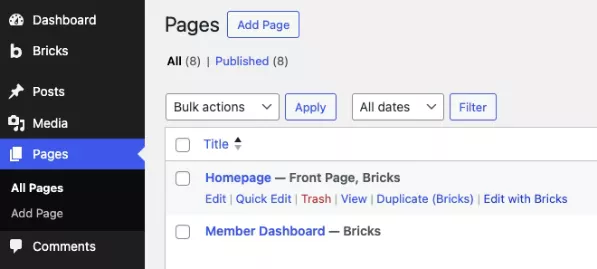
To edit the visual content of a page, go to the “Pages” tab in the left sidebar and click the “Edit with Bricks” link located under the page name.
Note: Clicking the page name itself will take you to the standard WordPress editor, where you can change the page status, hierarchy, or feature image.”
When you’re done editing, you must click the “SAVE” button in the top-right corner of the Bricks toolbar. Your changes will not be live until you do this.
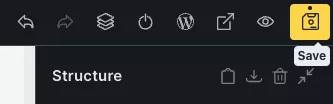
To exit Bricks and return to your WordPress dashboard, click the WordPress logo (W icon) in the top-left corner of the toolbar.
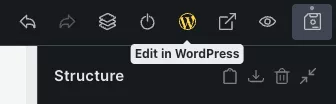
In this section, you’ll learn how to update the core elements of your website.
Remember: If you can see it on the page, you can likely edit it by clicking on it.
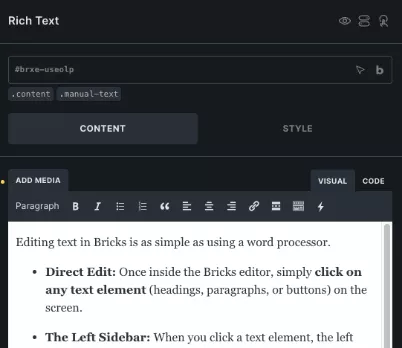
Editing text in Bricks is as simple as using a word processor.
Direct Edit: Once inside the Bricks editor, simply click on any text element (headings, paragraphs, or buttons) on the screen.
The Left Sidebar: When you click a text element, the left sidebar will change to show the “Content” tab. You can type your changes directly into the text box in that sidebar.
Pro Tip: Avoid copying and pasting directly from Microsoft Word or Google Docs, as this can bring “hidden formatting” that breaks the design. If you do, use Shift + Ctrl + V (Windows) or Shift + Cmd + V (Mac) to “Paste as plain text.”
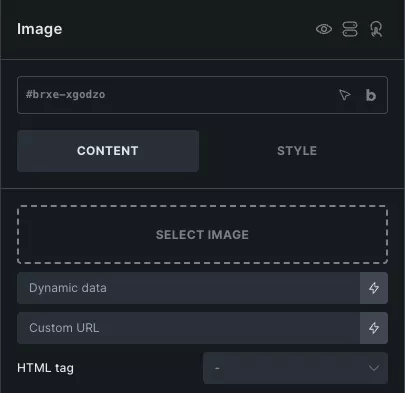
These are individual photos placed directly on the page.
Select the Image: Click on the image you want to change.
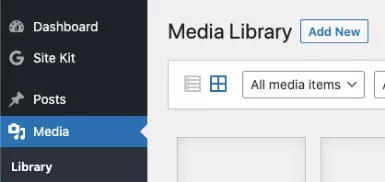
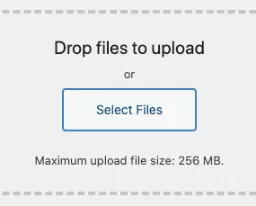
Choose Image: In the left sidebar, click on the image preview or the “Select” button. This will open your WordPress Media Library.
Upload or Select: You can choose an existing photo or upload a new one from your computer.
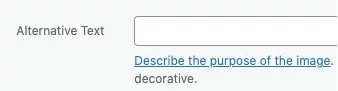
Alt Text: Always remember to fill in the “Alt Text” field in the Media Library with a brief description (e.g., “Modern sustainable building project”). This is crucial for SEO and accessibility.
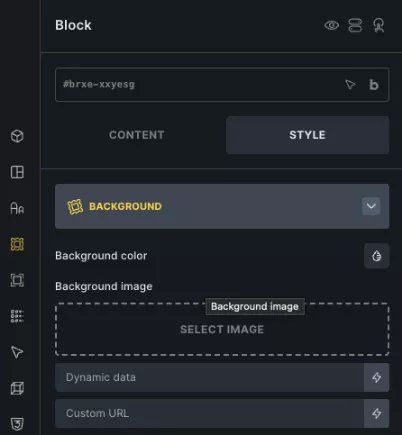
Some images sit behind text or other elements. These are background images assigned to a “Container” or “Section.”
How to edit: Click on the Container or Section that holds the image. In the left sidebar, go to the Style tab > Background. You will see the image there; click it to replace it.
Tip: Be careful not to change the “Background Size” or “Position” settings, as these keep the image looking good on all screens.
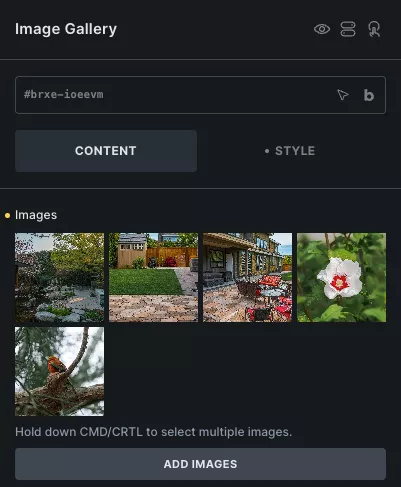
How to edit: Click anywhere on the gallery. In the left sidebar (Content tab), you will see a list or a grid of selected images.
To keep your website fast, please follow these simple rules before uploading:
File Format: Always that is possible, use .WEBP for images and .SVG for Icons and logos
Size: Try to keep images under 300KB. Large files will slow down the site for your visitors.
Dimensions: If you are replacing a horizontal photo, try to upload a new one with similar proportions.
Our standard. Use this for 90% of your photos. It offers the best quality at the smallest file size.
Icons and Logos. These stay perfectly sharp at any size and have the smallest footprint.
Use only if WebP is not available for high-quality photography.
Use only if WebP is not available and you strictly need a transparent background.
The Programs section utilizes the native WordPress Block Editor (Gutenberg), giving you full visual flexibility to lay out descriptive text, images, and embedded resources.
In the left-hand sidebar of your WordPress Dashboard, look for the menu item labeled “Programs”. Clicking here will show you a list of all current programs on your site.


Highlighting the experts behind HSLS helps build a personal connection with your audience.
This section allows you to manage your team’s directory without touching the website’s design.
On your WordPress Dashboard sidebar, click on the menu item labeled “Team Members”. You will see a list of everyone currently featured on the site.

To introduce a new member to the team:
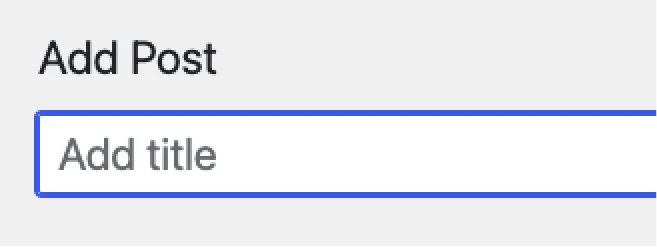
Click the “Add Post” button at the top of the Team Members page.

Enter the person’s full name in the “Title” field
The Bio: Write a brief professional biography in the main text area.
Position/Role: Look for the custom field (likely below the text area) labeled “Position” and enter their role (e.g., Project Manager).

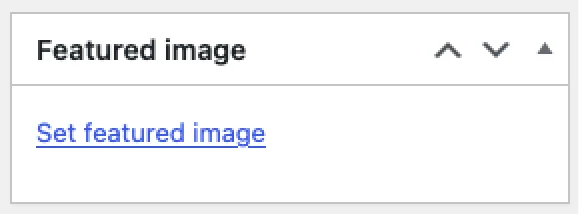
Profile Photo: In the right-hand sidebar, click “Set Featured Image”.
Pro Tip: For a consistent look, ensure all team photos have the same orientation (usually vertical/portrait). Follow our [Image Best Practices] for WebP format and size.
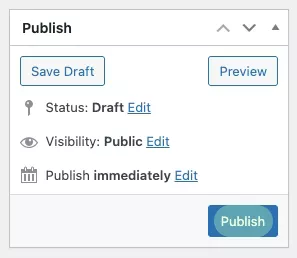
Click the blue “Publish” button. The new team member will automatically appear in the designated areas of your website.


Events are built with custom data fields that automatically populate the calendar, cards, and single event detail views.
In the left-hand sidebar of your WordPress Dashboard, look for the menu item labeled “Community & Events”. Clicking here will show you a list of all current events on your site.

To create a new event and add it to the calendar follow this steps:
Click the “Add Post” button at the top of the Events page.

Use the Event title as the post title.
Enter the clear, public name of the event (e.g., Community Drum Circle & Sharing Night).
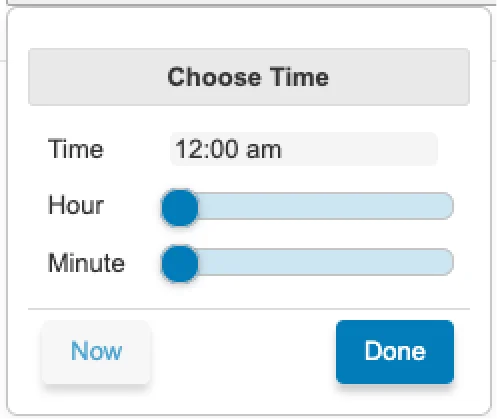
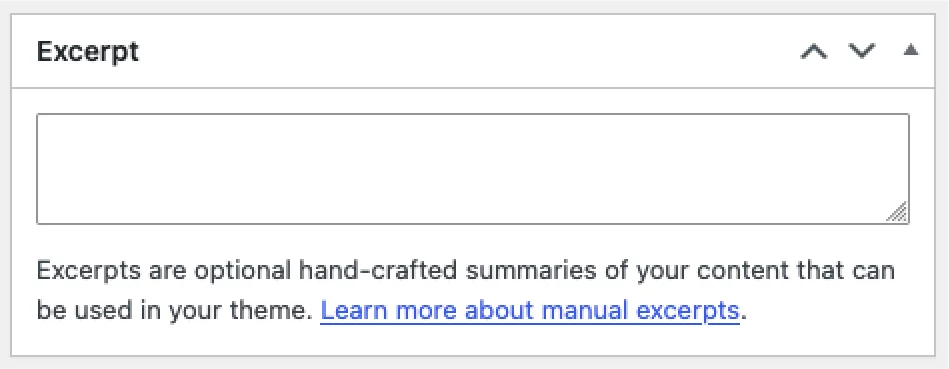
Fill the Event info:
March 14, 2026).6:00 pm).8:30 pm).
Click the blue “Publish” button. The new testimonial will automatically appear in the designated areas of your website.
The Documents section is designed for quick file distribution, governance records, forms, and minutes.
On your WordPress Dashboard sidebar, click on the menu item labeled “Documents”. You will see a list of everyone currently featured on the site.
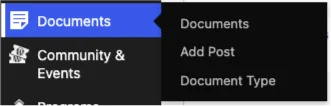
To upload a new document follow this steps:
Click the “Add Post” button at the top of the Docuemts page.

Enter an explicit, descriptive document title (e.g., Board Meeting Minutes – January 2026 or Volunteer Handbook).
.pdf, .docx, or .xlsx) or select it from the Media Library.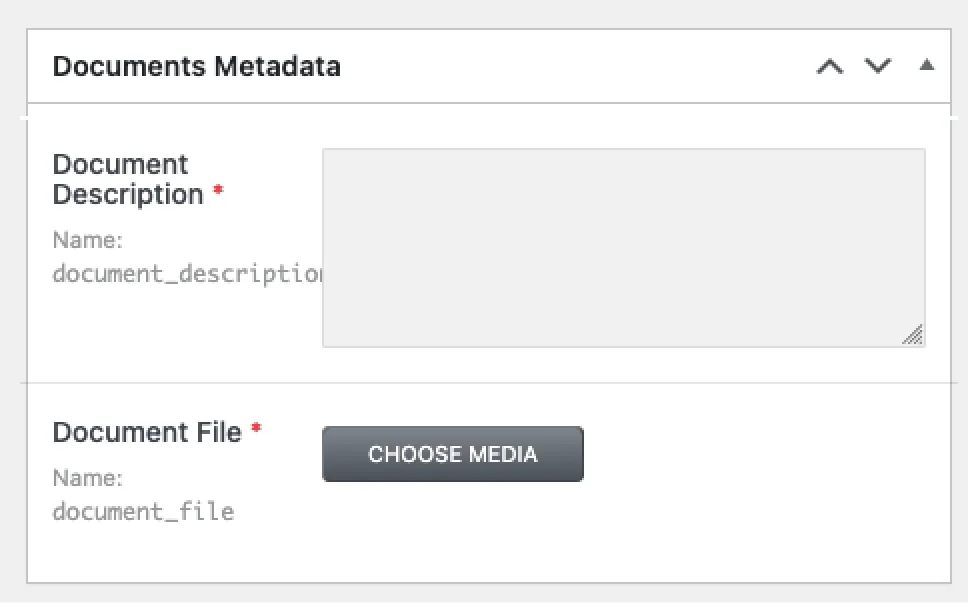
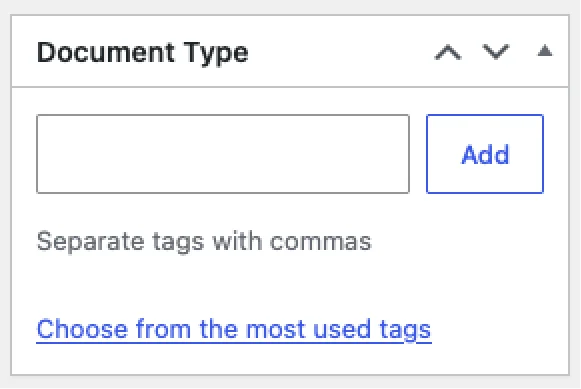
Click the blue “Publish” button. The new team member will automatically appear in the designated areas of your website.


The Job Posts section manages career and employment opportunities with minimal required input.
In the left-hand sidebar of your WordPress Dashboard, look for the menu item labeled “Job Posts”. Clicking here will show you a list of all current programs on your site.
To add a new Job post follow the next steps:
Click the “Add Post” button at the top of the Job Posts page.

Enter the position title (e.g., Community Youth Coordinator).
mailto:careers@hsls.ca?subject=Application for [Job Title].
Click the blue “Publish” button. The new testimonial will automatically appear in the designated areas of your website.


The Blog (or News / Stories) section is powered by the standard WordPress Posts feature and uses the native Block Editor (Gutenberg). It is used for organization updates, community announcements, impact stories, and press releases.
On your WordPress Dashboard sidebar, click on the menu item labeled “Team Members”. You will see a list of everyone currently featured on the site.

To create a new blog post:
Click the “Add Post” button at the top of the Posts page.

Enter a clear, descriptive headline at the very top in the “Add Title” field


Before publishing, ensure the following fields in the right-hand panel are completed:




WordPress and all the plugins used in your website are tools that are always getting updated with new features, security reinforcements, and performance fixes.
To ensure hsls.ca remains fast, secure, and functional, regular maintenance is required. Just like a physical building, your digital presence needs “inspections” to prevent long-term issues.
Maintaining a website requires consistent attention to detail. If you prefer to focus on your business while we ensure your site is always updated, secure, and fast, we offer Monthly Care Plans.
Our plans include:
Priority security monitoring.
Professional cloud backups.
Speed optimization and core updates.
Contact us to know more about our maintenance plans.
We are here to ensure your experience managing hsls.ca is smooth and successful.
Below you will find official documentation and ways to get in touch with our team.
If you want to dive deeper into the tools we used to build your site, these are the best places to start:
Detailed guides on how every element and design setting works within the builder..
Learn how the dynamic parts of your site (Testimonials & Team) are structured.
If you encounter a technical issue, have a question about an edit, or want to discuss a new feature, please reach out
Email: hello@geekdesign.ca
Hours: Monday to Friday, 9:00 AM – 5:00 PM
Response Time: We typically respond within 24-48 business hours.
Always Save: Remember to click the “SAVE” button in Bricks before exiting.
Check on Mobile: After editing a page, open it on your phone to make sure everything looks perfect.
Keep it Light: Always optimize your images before uploading to maintain fast loading speeds.